


Red Hat Enterprise Linux 9 (RHEL 9), codenamed Plow, has officially reached general availability (GA), as announced by Red Hat on May 18, 2022. This release marks several significant milestones within the Red Hat ecosystem. It represents the first major release following IBM’s acquisition of Red Hat in July 2019. Additionally, it is the first major version since the discontinuation of the CentOS Project, with CentOS Stream now serving as the upstream for RHEL.
RHEL 9 introduces numerous advancements, including Kernel 5.14, a wide range of new software packages, and extensive enhancements. The focus of this release lies in bolstering security, ensuring stability, and providing enhanced flexibility.
Key Highlights of RHEL 9
At a glance, here are the major highlights of RHEL 9.
New Software Versions
RHEL 9 comes preloaded with updated versions of various software components, offering improved functionality and performance. Some of the notable software versions included are:
Python 3.9
Node.js 16
GCC 11
Perl 5.32
Ruby 3.0
PHP 8.0
These updates ensure that developers and users can leverage the latest features and enhancements provided by these software packages in their RHEL 9 environment. Additionally, RHEL 9 includes many more updated software components to cater to a wide range of application development and system administration needs.
Security Enhancements
Red Hat Enterprise Linux 9 (RHEL 9) implements enhanced security measures to fortify the system against potential threats. Notably, the OpenSSH configuration in RHEL 9 restricts remote login by the root user through password authentication. This security measure mitigates the risk of unauthorized access through brute-force attacks.
Furthermore, RHEL 9 incorporates improved SELinux policies, further bolstering system security. The SELinux enhancements help provide additional layers of protection by enforcing strict access controls and confinement policies.
RHEL 9 also introduces OpenSSL 3.0, which introduces several advancements. It introduces a provider concept, a revised versioning scheme, and enhanced HTTPS functionality. The integration of OpenSSL 3.0 in RHEL 9 allows users to take advantage of the latest security cyphers for encryption. Additionally, the built-in RHEL utilities have been recompiled to utilize OpenSSL 3.0, enabling users to leverage the improved security features provided by this updated version.
Monitoring
The web console in Red Hat Enterprise Linux 9 (RHEL 9) offers an array of advanced features, including enhanced monitoring capabilities and performance metric pages. These features enable users to identify and analyze fluctuations in CPU, disk, memory, and bandwidth utilization, facilitating efficient resource management. Moreover, these metrics can be exported to Grafana, a popular data visualization platform, allowing for improved visualization and analysis of system performance.
In addition to monitoring, the web console in RHEL 9 now supports live kernel patching. This functionality enables users to apply critical system patches without the need to reboot or disrupt services running in development or production environments. By seamlessly patching the kernel live, organizations can maintain system uptime and ensure continuous service availability while keeping their systems up to date with the latest security fixes and enhancements.
Image Builder Tool
Red Hat Enterprise Linux 9 (RHEL 9) introduces the image builder tool, a powerful utility that empowers users to create custom system images in various formats for both minor and major releases of RHEL. These images are compatible with leading cloud providers such as Amazon Web Services (AWS) and Google Cloud Platform (GCP). This functionality enables users to swiftly deploy tailored RHEL development environments, whether on-premises or on cloud platforms.
Moreover, the image builder tool allows the creation of bootable ISO installer images, conveniently packaged in a tarball format. These images can be utilized to install RHEL on bare-metal servers or as a guest machine on hypervisors like VMware. This flexibility ensures seamless installation and integration of RHEL in diverse computing environments, catering to the needs of both physical and virtual infrastructure setups.
How to Download RHEL 9 for Free
The Red Hat Developer Subscription is a free offering within the Red Hat Developer program, designed specifically for individual developers seeking to leverage the extensive features of Red Hat Enterprise Linux (RHEL).
By availing the Red Hat Developer Subscription, developers gain access to all versions of Red Hat Enterprise Linux, along with a range of additional Red Hat products including add-ons, software updates, and security errata. This comprehensive access allows developers to fully utilize and explore the capabilities of Red Hat’s enterprise-grade Linux platform.
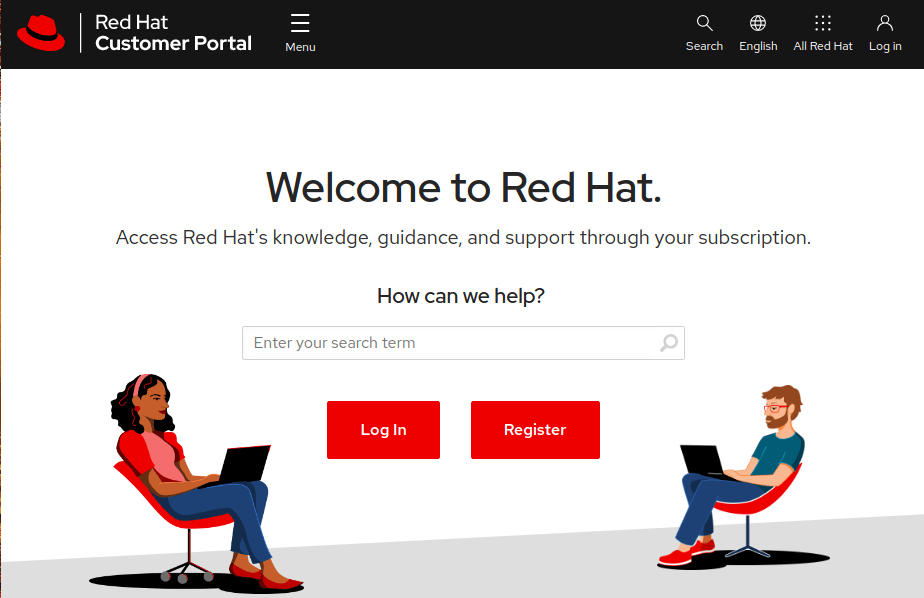
To get started, it is essential to have an active Red Hat account. If you do not have an account yet, you can create one by visiting the Red Hat Customer Portal. Simply click on the ‘Register’ button and provide the necessary details to complete the account registration process. Once registered, you can begin exploring the benefits of the Red Hat Developer Subscription.

Once you have successfully registered for a Red Hat account, you can proceed to download Red Hat Enterprise Linux 9 (RHEL 9) at no cost head over to the Red Hat Developer Portal and sign in using your account credentials. Next, navigate to the RHEL 9 download page and click on the download button shown below.

Once you initiate the download process, the RHEL 9 ISO image will start downloading shortly after. You will receive a confirmation message indicating that the download of RHEL 9 is now in progress.

To expedite the download process, it is recommended to have a high-speed internet connection due to the size of the RHEL 9 ISO image, which is approximately 8GB. Having a fast and stable internet connection will help facilitate a faster download experience.
How to Install RHEL 9 for Free
With the ISO image downloaded, grab a 16 GB USB drive and create a bootable USB drive using applications such as UnetBootIn or Balena Etcher to make it bootable.
With your bootable medium at hand, plug it into the PC that you wish to install RHEL 9 and reboot the system. Remember to configure the BIOS to have the bootable medium first in the boot priority so that the system boots into the medium first. Also, ensure that you have a high-speed internet connection that will come in handy during the installation.
Step 1: Start RHEL 9 Installation
After the system reboots and boots from the bootable USB drive, you will be presented with a black screen displaying several options. To initiate the installation process, simply press ENTER on the first option, which is typically labelled ‘Install Red Hat Enterprise Linux 9.0’. This selection will start the installation wizard and allow you to proceed with the installation of RHEL 9.

After selecting the ‘Install Red Hat Enterprise Linux 9.0’ option, you will observe a series of boot messages appearing on the screen. These messages are part of the installation process, and no user intervention is necessary at this stage. Simply wait patiently as the installer prepares to install RHEL 9 onto your system. The duration of this preparation phase may vary depending on the hardware and system configuration.

After a brief moment, the graphical installation wizard for Red Hat Enterprise Linux 9.0 will appear on the screen. In the initial step, you will be prompted to select your preferred language for the installation process. Choose your desired language from the provided options and click on the ‘Continue’ button to proceed to the next step of the installation.

Step 2: Configure Partitioning
The next step presents you with an installation summary that is segmented into four sections:
LOCALIZATION
SOFTWARE
SYSTEM
USER SETTINGS
We will only focus on three items that are mandatory before proceeding with the installation – Installation Destination, Root Account, and Regular Account creation.

To set up partitioning, click on ‘Installation Destination’ under SYSTEM. On the ‘Installation Destination’ page, ensure that you have selected the ‘Automatic’ option if you wish the wizard to automatically partition the hard drive. Otherwise, select ‘Custom’ to manually create the partitions.
In addition, ensure that you have selected the hard disk on your PC. Then click ‘Done’.

Upon selecting the ‘Custom’ option for partitioning, you will be directed to the ‘Manual Partitioning’ window. Here, you will notice that the LVM (Logical Volume Manager) partitioning scheme is preselected by default, which is suitable for most scenarios.
To begin the process of creating partitions, locate and click on the plus [ + ] sign. This action will allow you to add new partitions according to your requirements.

As an example, we will create the following partitions for demonstration purposes.
/boot -	500MB
/home -	20GB
/root -	15GB
swap  - 8GB
To begin, let’s set up the boot partition.

Upon reviewing the partition table below, it is evident that the boot partition has been successfully created.

Repeat the same steps and create the /home, /root, and swap mount points.
Our complete partition table is shown below. To save the changes, click on ‘Done’.

Next, click on the ‘Accept Changes’ button when the pop-up window appears. This action will confirm and finalize the partition changes you have made.

Step 3: Configure User Settings
Now, let’s proceed to configure the user settings, starting with the Root password. Click on the ‘Root Password’ icon to proceed with setting the password for the Root account.

To unlock the Root account, please provide a password and confirm it by typing it again. Once you have entered and confirmed the Root password, click on the ‘Done’ button to proceed.

To create a regular login user, click on the ‘User Creation’ option. This will allow you to set up a new user account for regular login purposes.

Please provide the necessary details for the user account, including the desired username and password. Once you have entered the username and password, click on the ‘Done’ button to proceed with creating the regular login user.

Now that all the necessary configurations have been completed, it’s time to initiate the installation process. Click on the ‘Begin Installation’ button to start installing Red Hat Enterprise Linux.

During this stage, the wizard will download and save all the required packages from the Red Hat ISO image to the hard drive. This process may take a considerable amount of time, so it is an opportune moment to take a break while the installation progresses.

After the installation process is complete, you will need to reboot your system. This will allow you to log in to your freshly installed Red Hat Enterprise Linux 9 and begin using the operating system.
To finalize the installation, click on the ‘Reboot System’ button. This will initiate the system reboot, allowing you to access your newly installed Red Hat Enterprise Linux 9.

Step 4: Boot Into Red Hat Enterprise Linux 9
After the system has finished rebooting, you will be presented with a GRUB menu. To start Red Hat Enterprise Linux 9.0, select the first entry on the menu, which corresponds to Red Hat Enterprise Linux 9.0. This will boot your system into the newly installed operating system.

On the login screen, enter your password and press ENTER to proceed. This will authenticate your credentials and grant you access to the Red Hat Enterprise Linux 9.0 system.

Upon logging in, you will have the option to take a tour of the freshly installed Red Hat Enterprise Linux 9 or decline and proceed directly to the Desktop. You can make your choice based on your preference and familiarity with the operating system.

Once you have completed the login process, you will be greeted by the GNOME 42 desktop environment, which has undergone a significant visual overhaul, resulting in a sleek and elegant appearance. Enjoy exploring and utilizing the enhanced features and functionalities of the GNOME 42 desktop environment in Red Hat Enterprise Linux 9.

Step 5: Enable Red Hat Subscription on RHEL 9
Once you have installed RHEL 9, finally, register your RHEL subscription by running the following command on the terminal. The username and password are the login details to your Red Hat account.
$ sudo subscription-manager register --username=username --password=password
$ sudo subscription-manager attach --auto
To confirm that the system is registered to RHSM (Red Hat Subscription Management), run the command:
$ sudo subscription-manager list --installed

Indeed! Now that your Red Hat Enterprise Linux 9 system is registered and connected to Red Hat Subscription Management, you can fully enjoy the benefits of being a Red Hat user. This includes access to the latest software packages, security updates, and bug fixes, ensuring that your system remains up-to-date, secure, and optimized. Make the most of your Red Hat experience and leverage the robust features and support provided by Red Hat for your enterprise needs.
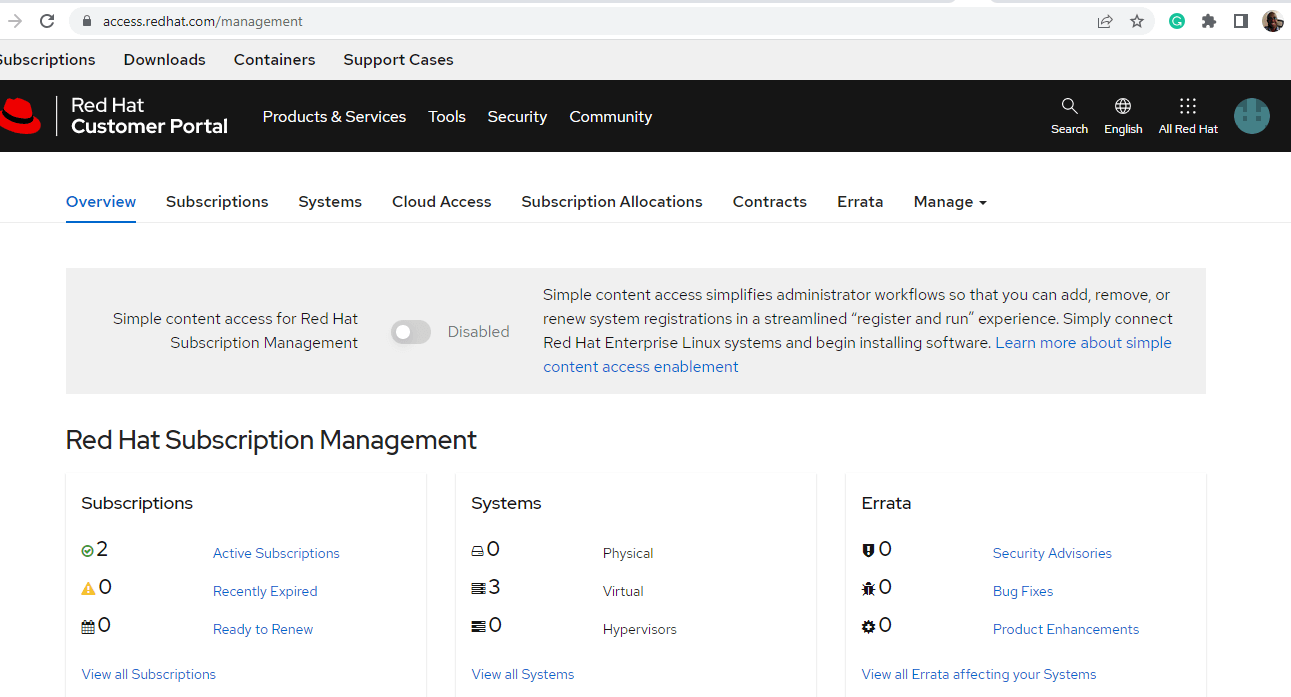
NOTE: You can always check the details of your No-Cost RHEL subscription by visiting the Red Hat Subscription Management Portal.

We have reached the end of the tutorial. We hope that this guide has helped you successfully download and install Red Hat Enterprise Linux 9 free of charge. By registering it for a No-cost RHEL subscription, you can now unlock the full benefits and features of Red Hat Enterprise Linux. Enjoy the power, stability, and security that RHEL provides for your computing needs. Should you have any further questions or need assistance, feel free to ask.


No Comments
Leave a comment Cancel