


Introduction
Building a powerful and dynamic website requires a reliable web server environment. The LAMP stack, which stands for Linux, Apache, MySQL, and PHP, is a popular combination of technologies that provides a robust foundation for hosting websites and web applications. In this step-by-step guide, we will walk you through the process of setting up a LAMP stack on Ubuntu, a widely used Linux distribution. By following this tutorial, you’ll be able to create a secure and efficient web server environment to host your website or web application.
Table of Contents
Introduction to LAMP Stack
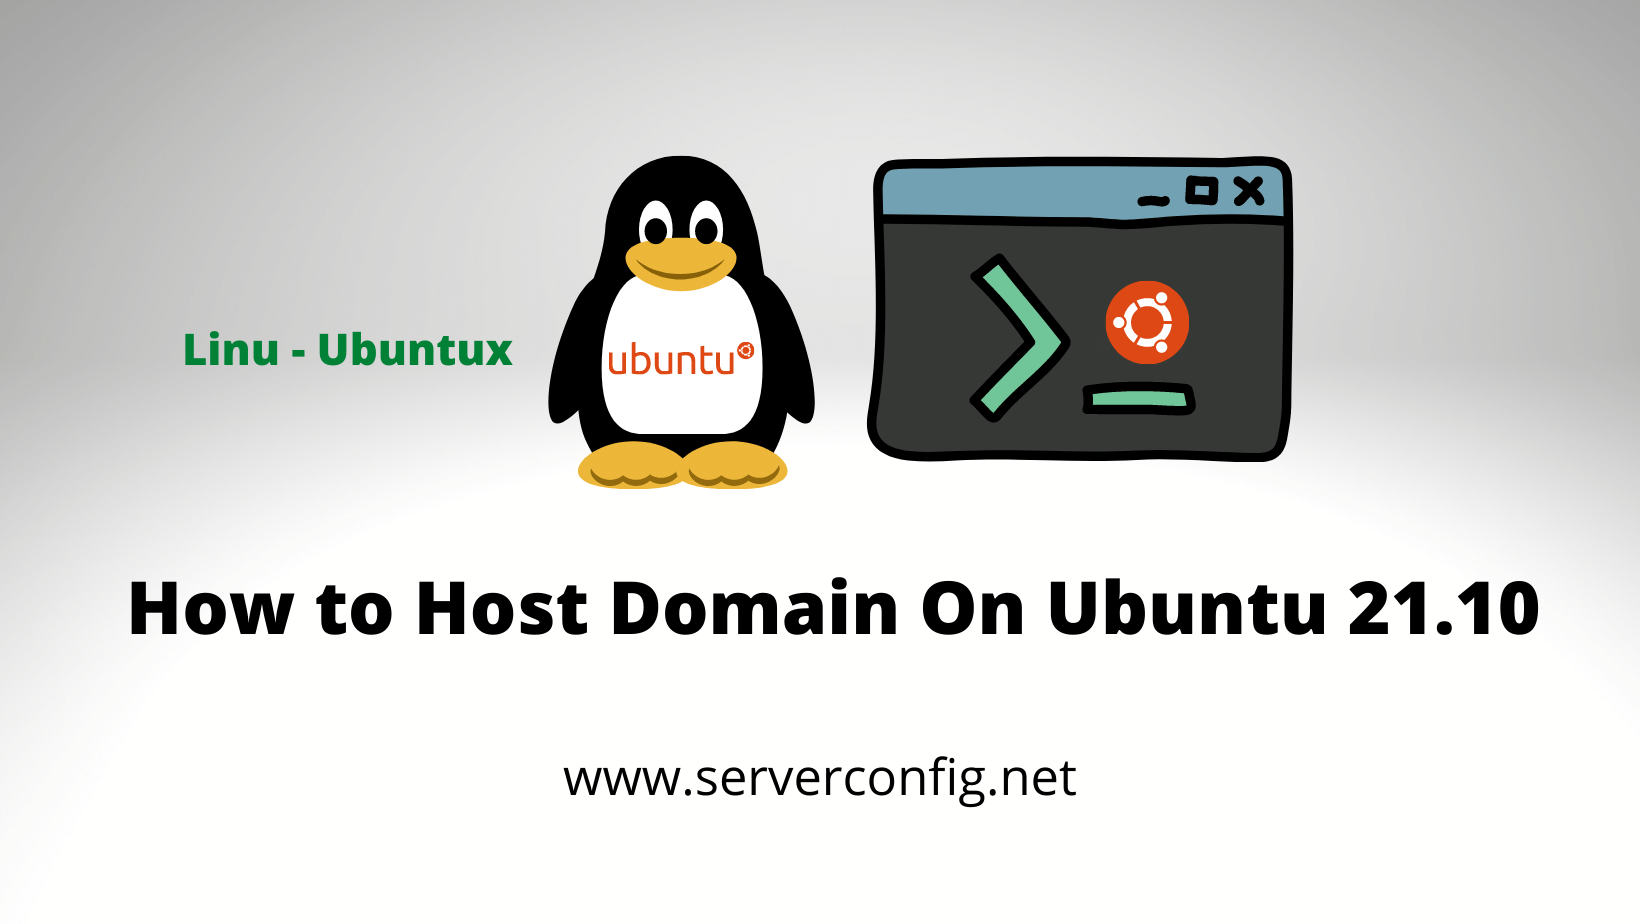
Step 1: Installing Ubuntu
Step 2: Installing Apache Web Server
Step 3: Installing MySQL Database Server
Step 4: Installing PHP
Step 5: Configuring Apache for PHP
Step 6: Testing the LAMP Stack
Conclusion
1. Introduction to LAMP Stack
The LAMP stack is a combination of open-source software that provides a complete web server environment. Here’s what each component of the LAMP stack does:
Linux: Linux serves as the operating system for your web server. In this guide, we will use Ubuntu, a popular Linux distribution known for its stability and ease of use.
Apache: Apache is the web server software that handles HTTP requests from clients and delivers web content. It is highly configurable and supports a wide range of features and modules.
MySQL: MySQL is a powerful relational database management system. It stores and manages data for your website or web application, allowing you to create dynamic and interactive experiences.
PHP: PHP is a server-side scripting language used for creating dynamic web pages. It seamlessly integrates with Apache and MySQL, enabling you to build interactive websites and web applications.
2. Step 1: Installing Ubuntu
Before setting up the LAMP stack, you need to install Ubuntu on your server. Here are the steps to install Ubuntu:
Download the Ubuntu ISO image from the official website.
Create a bootable USB drive or DVD using the ISO image.
Boot your server from the USB drive or DVD.
Follow the on-screen instructions to install Ubuntu, selecting the appropriate options for your server.
3. Step 2: Installing Apache Web Server
Once Ubuntu is installed, you can proceed with installing the Apache web server. Follow these steps:
Update the package repository using the command: sudo apt update.
Install Apache using the command: sudo apt install apache2.
Start the Apache service: sudo systemctl start apache2.
Enable Apache to start automatically on system boot: sudo systemctl enable apache2.
4. Step 3: Installing MySQL Database Server
After installing Apache, you need to install the MySQL database server. Here’s how:
Install MySQL using the command: sudo apt install mysql-server.
During the installation process, you will be prompted to set a root password for MySQL. Choose a strong password and remember it.
Start the MySQL service: sudo systemctl start mysql.
Secure your MySQL installation by running the security script: sudo mysql_secure_installation.
5. Step 4: Installing PHP
Next, you’ll install PHP, the server-side scripting language, to enable dynamic web page generation. Follow these steps:
Install PHP and its common extensions using the command: sudo apt install php libapache2-mod-php php-mysql.
Verify the PHP installation by creating a test PHP file and accessing it from a web browser.
6. Step 5: Configuring Apache for PHP
To make Apache work seamlessly with PHP, you need to configure it. Here’s how:
Open the PHP configuration file in a text editor: sudo nano /etc/php/{version}/apache2/php.ini.
Make any necessary changes to the PHP settings, such as increasing the maximum file upload size or enabling certain extensions.
Save the file and exit the text editor.
Restart Apache for the changes to take effect: sudo systemctl restart apache2.
7. Step 6: Testing the LAMP Stack
To ensure that your LAMP stack is functioning correctly, you can perform a simple test. Here’s what you can do:
Create a new PHP file in the Apache web server’s document root directory: /var/www/html/test.php.
Add the following code to the file:
phpCopy code<?php
phpinfo();
?>
Save the file and access it from a web browser using your server’s IP address or domain name.
Conclusion
Setting up a LAMP stack on Ubuntu provides you with a robust web server environment for hosting websites and web applications. By following this step-by-step guide, you have learned how to install and configure the individual components of the LAMP stack, including Ubuntu, Apache, MySQL, and PHP. With your LAMP stack up and running, you can now deploy and host your website or web application with confidence.


No Comments
Leave a comment Cancel